
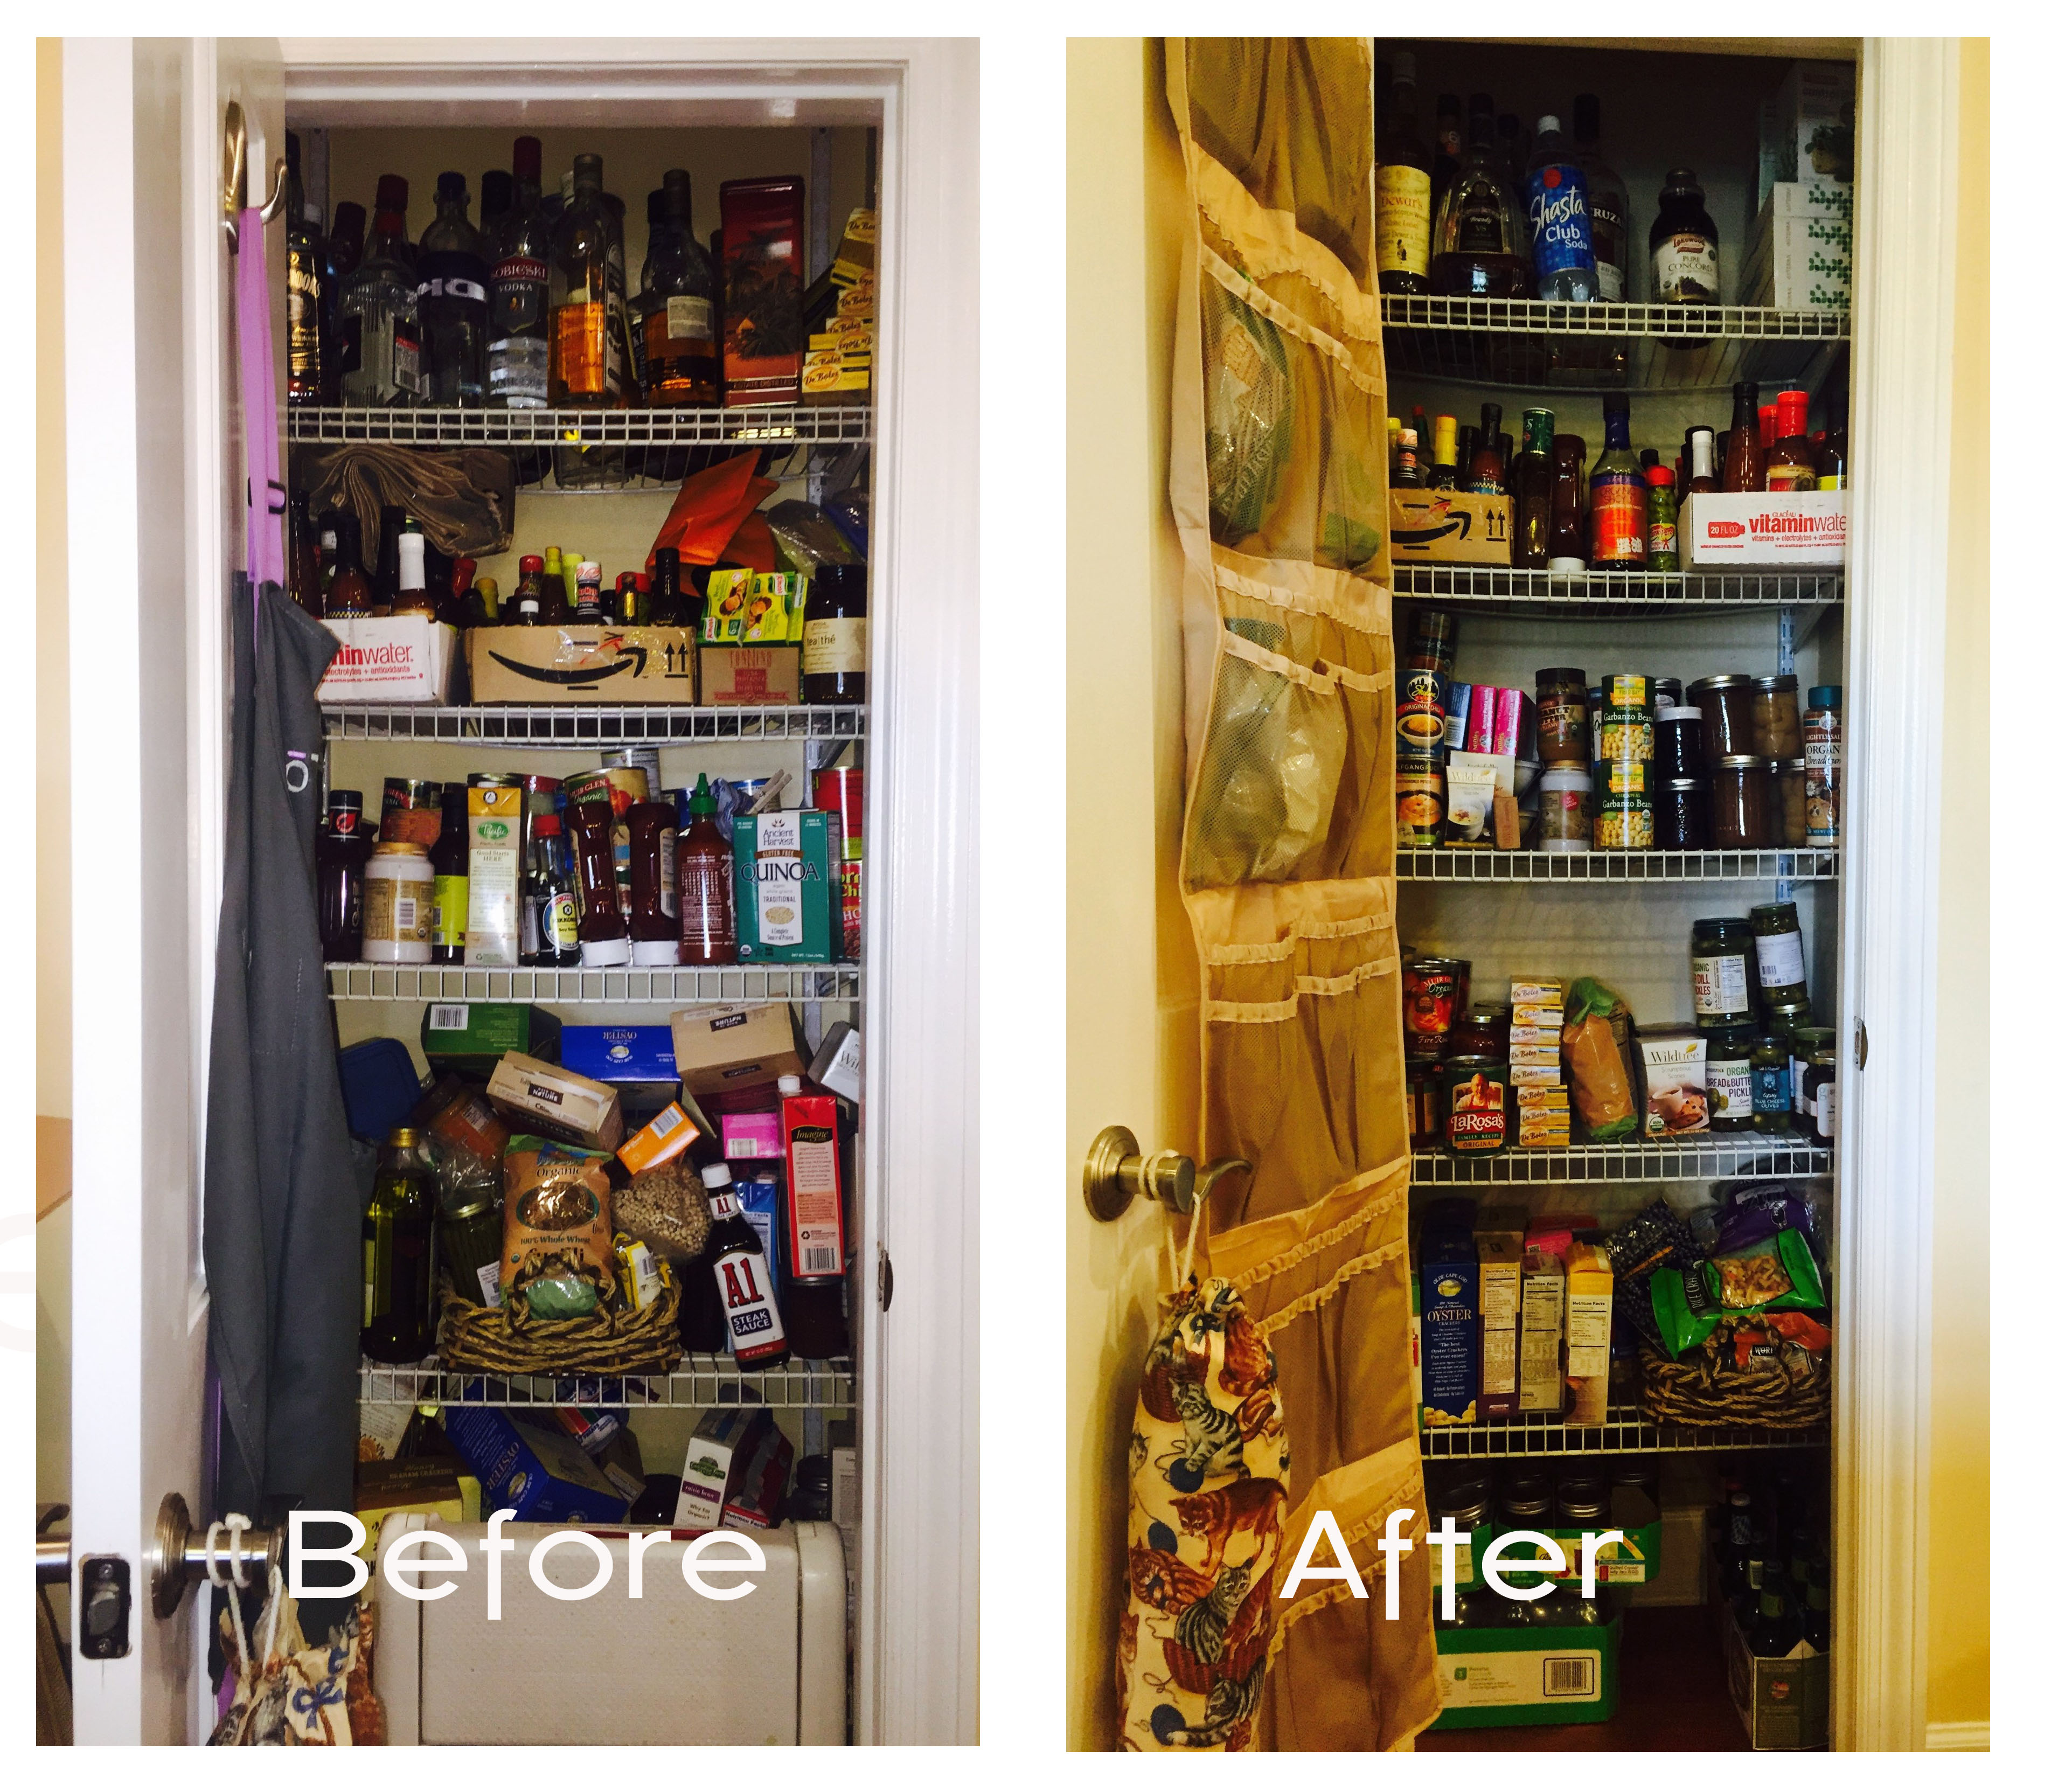
Before and after decluttering, cleaning, and organizing pantry
Step One: Declutter Your Pantry
- Before starting this project, clear off a counter or table near your pantry to use as you empty your pantry
- Empty the pantry, starting with the top shelf, working left to right. Empty one shelf at a time.
- Sort the items onto a counter or table as you remove them. Keep like items together – cans, snacks, cereals, baking, paper products, small appliances, etc.
- Check expiration dates on packaged food products and discard anything that is expired.
- Set aside anything you no longer want to keep. Discard anything that is stale or no longer fresh enough to use. Unopened unexpired food can be donated to a local food pantry.
- Set aside anything that does not need to be in the pantry. This is especially important if you have a smaller pantry. Infrequently used items may be able to be stored elsewhere in your home.
Step Two: Cleaning
Now that you have an empty pantry, it is time to clean. Cleaning green is all the rage and that is the next step. If you have not tried cleaning with essential oils, it is an inexpensive way to clean without chemicals. Essential oils are natural products that come from plants, trees, fruits, and flowers. Through either steam distillation or cold pressing, the oils are extracted to provide a compound that is 50-70 times more powerful than herbs.
First, vacuum or sweep the bottom of the pantry. Then clean off the shelving.
Here a few cleaning recipes to get your pantry clean:
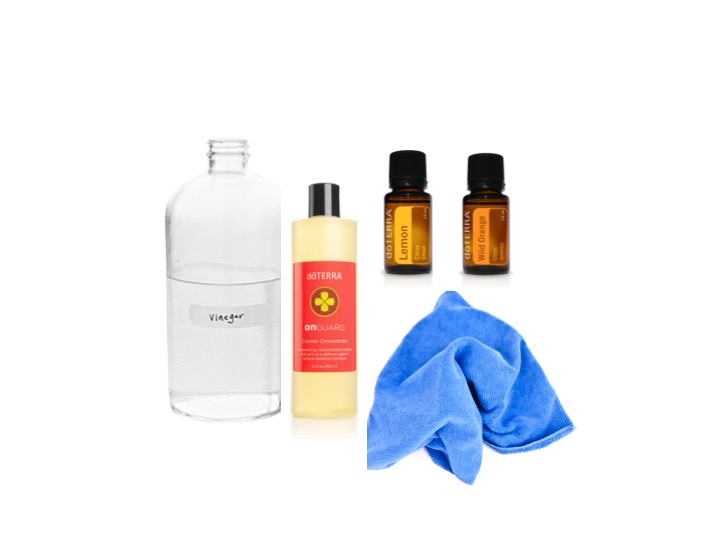
Green cleaning supplies
Closet Maid or wire shelving system
Fill sink with water and add 1 cup of vinegar and 5 drops Essential Oil for every gallon of hot water.
Put shelves in sink and clean with a cloth.
Dry well before putting back.
1 cup white vinegar
1 cup water
10 drops Lemon or Wild Orange Essential Oil
Combine all ingredients in a glass spray bottle. Shake well before use.
1 gallon warm water
2 tbsp liquid Castile soap
10 drops of Citrus Essential Oil (Lemon, Wild Orange,or other oil)
Mix in bucket. No rinsing needed.
Use Lemon Essential Oil either full strength on the sticky substances or marks on the wall. Will not take care of every problem but works on of a lot of them.
Step Three: Organize and Store Pantry Items
Three important concepts to remember when organizing your pantry: Zones, keep like items together, and containers.
- Establish zones in your pantry, areas dedicated to one category. Zones can be separated into smaller categories. Consider zones for:
- Cans
- Soup
- Vegetables
- Fruit
- Jars
- Oils
- Condiments
- Pasta and Rice
- Baking
- Herbs and Spices
- Cereal
- Beverages
- Coffee and Tea
- Paper Products
- Appliances
- Cans
- Keep like items together.
- Return items to your pantry, one category at a time. Store items with the labels facing out so you can read them. Put the items expiring soonest in the front. This makes it easier to find what you need and use the food you have purchased before it expires, saving you money. It also makes it easier to determine what you need at the grocery store.
- Use containers for items that are difficult to keep neat such as bags or items purchased in bulk. Square or rectangular containers use space more efficiently than round containers. There are containers that fit every budget.
- Use plastic containers with tightly fitted lids for flour and sugar.
- Bulk cereal can be placed into tall containers with a spout to pour out the cereal.
- Bins or baskets can be used to corral items like granola bars, pouch mixes.
- Use vented bins or baskets for perishables like potatoes or onions.
Some additional tips
- Keep items used frequently (daily or several times a week) within arms’ reach. Store less frequently used items higher up. If you are storing any heavy appliances, keep them on a lower shelf. Keep safety in mind if storing anything that needs to be out of the reach of children.
- To encourage healthy snacking, store nutritious snacks at eye level, and store junk food and treats on a higher shelf.
- If your shelves are deep or do not pull out, you may want to consider tiered organizers so you can see the products that are at the back of the shelf.
- If you are tight on space, a side wall or the inside of the pantry door maybe an option if you need extra space. Mount a rack or add hooks if this works for your pantry configuration.
Step Four: Staying Organized
- Show other household members how you have organized the pantry. Ask them to help keep it organized.
- Label the zones to help you and the other members of your household find what they are looking for. Labels help them put things back in the correct place too.
- By keeping like items together, it is easier to see what needs to be added to the grocery list.
- Before you grocery shop, look through the pantry to see what you need. Know what you have in your pantry to keep you from overbuying or running out of something you need.
- When you unload your groceries, put items directly in their designated place. This takes less time than going back and reorganizing your pantry again. Place the newer items behind the older ones to be sure to use the oldest product first.
- Use what you have in your pantry. Once a month, look through your pantry and plan to use anything that has been stored for more than a couple of months.
- Every six to twelve months, declutter your pantry.
- Keep the bugs out. Two tricks are Bay Leaves and a drop or two of Peppermint Essential Oil on a cotton ball. With either trick, just put one on the floor and another on a higher shelf.
- You can keep your pantry smelling fresh by taking a Mason jar filling it halfway with baking soda, add 3-5 drops of the essential oil of your choice, poke some holes in the jar lid, and place in the pantry.

Connect